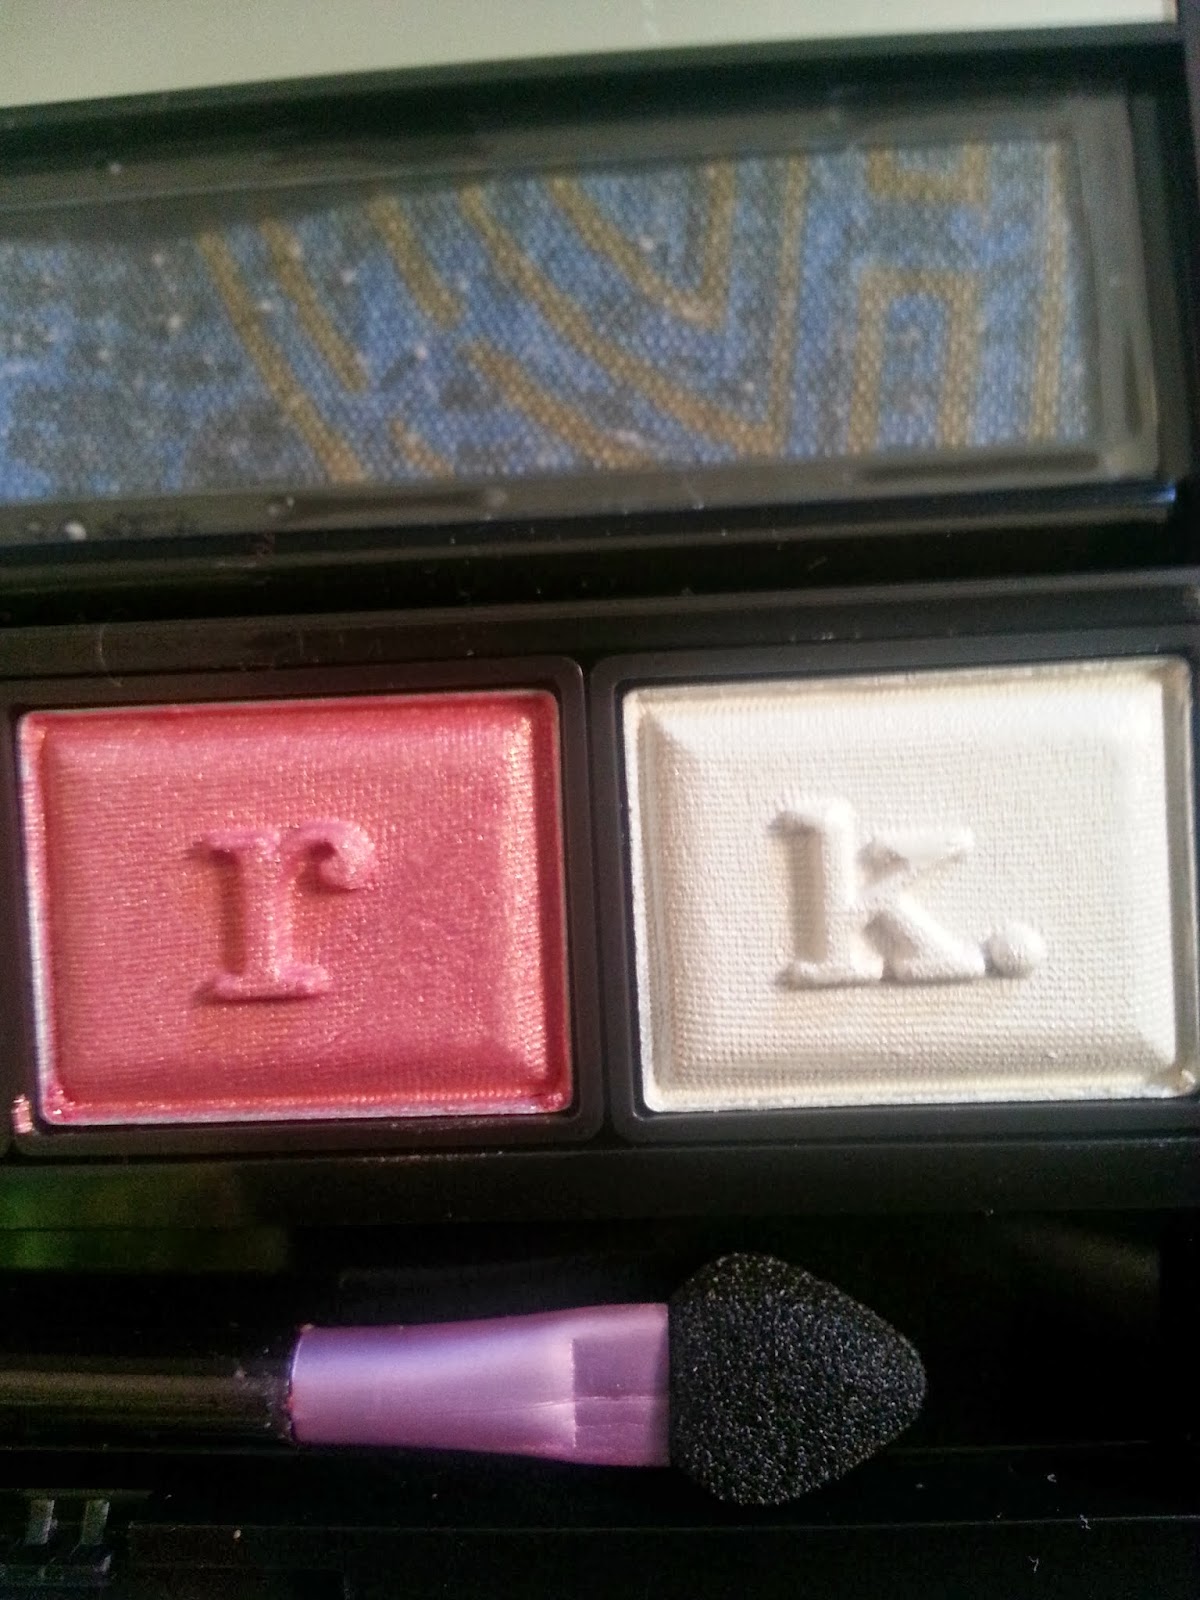
Didn't mean to sound dramatic but this is a first for me. I have never ever ever actually finished a lipstick. I have been into make up for the past 6 to 7 years and in the time I've never really been into lipsticks but lately I have. And this was a big deal because it was the first lipstick I actually finished to the end! Just thought it deserve a moment!
I no longer am an Avon Representative but I continue to love random things and sharing them with everyone. Like beauty, crafts, sewing, cooking, ect.
Friday, July 31, 2015
Sunday, August 24, 2014
Crochet Flip Flop Pinterest Tutorial
I'm a little late on my posts, well because I'm a normal mom who has no time for ANYTHING! So I finally had some time to post my Pinterest projects that I have attempted this summer. I love love love love flip flops, so when I saw a project for flip flops I literally flipped! :)
Here's a link to the instructions from the original post: http://www.petalstopicots.com/2012/07/crocheted-flip-flops-tutorial-with-flower-pattern/
The original one has a flower pattern too but I didn't do that part. Here's my results.
I really liked how they came out, but after the first time my daughter wore them the yarn became all fussy and it looked rather ugly. I thought maybe cause she ran and played, so I tried mine on. Same thing. It was rather frustrating because this was a project that took quite a while to make so for it to go bad so fast was not fun. I wonder if maybe I use a different material next time, that won't happen. But to me in the picture of the tutorial it looked like regular old yarn, but I think if I do try this again I will try to use embroidery floss. Even though I'm not sure if it'll still show as much since it's thinner and it might also take longer to finish it off. Let me know if you try this out and what were your results.
Saturday, August 23, 2014
Biore Strips Dupe
Well as some of you may know I'm a Pinterest addict and #1 fan!!! But like most other people I pin away but rarely actually do them. Well this year I have tried to actually do some of these pins and I'm happy to say I have been pretty successful with many pins.
So today I wanted to share another pin I tried, this time with my oldest daughter Natalie. She's hitting the pre-teen age and I've noticed a couple of black heads popping out already. So she was perfect for trying this one out with me. And me, well I love the Biore nose strips but they're expensive and only have a couple of them in the box. So when I saw this Pin I had to try it. You can find the original recipe and instructions at the following link to the original post How to make your own pore strips.
Here is what we looked like with it on.
I feel I had really good results. It's a little painful at times to take off because it really does stick really good to your skin, so if your skin is sensitive it might get a little irritated. But as you can see in the pictures above (I had put face cream on already) I feel like my skin looks very clean and smooth. I'm not sure it took off as many black heads from my nose as the actual strips do, maybe cause I had too thick of layers on my nose that it didn't dry properly. But everywhere else I feel it cleaned it really well and my skin felt soft like a baby's bottom. Overall I liked it and I think I will be trying it again. Happy pinning.
So today I wanted to share another pin I tried, this time with my oldest daughter Natalie. She's hitting the pre-teen age and I've noticed a couple of black heads popping out already. So she was perfect for trying this one out with me. And me, well I love the Biore nose strips but they're expensive and only have a couple of them in the box. So when I saw this Pin I had to try it. You can find the original recipe and instructions at the following link to the original post How to make your own pore strips.
Here is what we looked like with it on.
So here's a recap on the experience. It was very easy to prepare and the ingredients were few and inexpensive. The mixture did have a rather nasty and annoying smell I can't really describe but it was not nice. I recommend making sure to spread it on quickly and in a thin layer because the thicker you put it on, the longer it takes to dry and it's really not necessary. We let it dry for about 15 minutes and it wasn't enough for the thick areas which made it hard to take off and it was sticky and didn't work good. But let me tell you, this really works super good at taking everything off!! And when I mean everything I mean everything, including facial hair! So let me warn you, don't make the mistakes we did of not being careful and getting it over our eyebrows and hair line. It will take those out too and it's pretty painful. We had to rinse some of it off and pull the rest of very carefully. So make sure you spread it out carefully and away from any facial hair you don't want ripped out. Here are my results. Sorry I forgot to take a before picture.
I feel I had really good results. It's a little painful at times to take off because it really does stick really good to your skin, so if your skin is sensitive it might get a little irritated. But as you can see in the pictures above (I had put face cream on already) I feel like my skin looks very clean and smooth. I'm not sure it took off as many black heads from my nose as the actual strips do, maybe cause I had too thick of layers on my nose that it didn't dry properly. But everywhere else I feel it cleaned it really well and my skin felt soft like a baby's bottom. Overall I liked it and I think I will be trying it again. Happy pinning.
Friday, May 9, 2014
Spaceship Nails
(Read with an alien voice) Earthlings I come again with another nail tutorial. Hahaha you'll soon know why I'm feeling alienish! Well I found this tutorial on Pinterest of course. It's very easy and pretty cool actually.
And well since I don't like to copy exactly from these tutorials I just used the method and turned it into my own. And here's the result.
Don't they look like alien nails or like an alien ship inspired look? I used a Mark nail polish that is so shiny and silvery and feels like a metal spaceship. I then followed the directions to make my own random shapes to stick to my nails. This is great to get those sharp clean edges. I had no set design, I just cut random shapes and did random designs. I added a top coat a done.
Until next time Earthlings.
Never too late for love-ly nails.
Yes I know it's May and Valentine's Day is far behind but I found this picture of my Valentine's Day Nails and I wanted to share it with you guys. Especially because it's not often that I actually like the results of my nail adventures. I used a pink nail color as a base, did one nail in a peach color and added sparkles on one. Than with a dotting tool I made a heart on one nail and top coat and tada. Nothing out of this world but I thought it was cute enough to share!
Simple Tribal Nails
It had been awhile since I blogged. I had been working full time and really had no time or energy to post. But here I am now, no longer working so I decided to finally post.
Like everyone else I love looking at nail tutorials on Pinterest but honestly once I try doing them most of the time they never ever look like the pictures. I don't have the ability or the tools most of the time.
I saw a lot of Tribal inspired nails and this is my dumb down version. So if you're like me these nails should be super easy.
I started by doing all my nails in a solid yellow color. I used Avon Nailwear Pro+ in Sunshine.
One thing I have learned the hard way is to let the base coat dry completely. I'm so Impatient. But you have to if you want the designs to go on smoothly. I only choose to put designs on a couple of nails including my thumb. I used a dotting tool to draw a sort of chevron design with a Sally Hansen nail polish in White On, a Wet n Wild in Blazed and a Mark trend in Blue Bella. Pretty easy right.I did the same on another nail and on another I did a different random design. Just did half white and added a pink stripe down the nail. I finished it off with some angled stripes.
That's it. Did the same with the other hand and added a top coat and finish. Sorry about the poor quality of pictures, doing it with my phone. Hope yours come out nice.
Labels:
avon nailwear pro,
blue,
chevron,
Mark,
nails,
pink,
pinterest,
sally Hansen,
white,
yellow
Wednesday, December 4, 2013
New Mark Products and Avon Glitter Polish
I'm loving my new Mark Anniversary cream shadow.
The colors are so creamy and they give the right amount of shine. Everytime I wear them I get compliments. I have tan colored skin and it makes my skin look super radiant.
I especially love these two. I sometimes wear them alone or together.
I'm also a big fan of these Mark on the dot palettes. I have all three. When I saw this new one I had to have it. The colors are beautiful and perfect for strong eye looks.
Here's the eye look I created using the palette.

I also loved the new chunky glitter nail polish from Avon. It's the perfect chunky glitter, it's definitely not subtle.
If you're interested in trying any of these products out visit youravon.com/mmendez34 .
Sunday, August 25, 2013
I never go wrong with PURPLE EYES.
I love wearing purple shades of eyeshadows, I think that they look great on me. So it's one of my go to looks. On this day I was going to a job interview and decided to go with purple again.
It even complimented my top. I used I-mark shadows and a wet n wild purple palette I bought a long time ago. I used all shades of purple.
I ofcourse used the lightest shade of purple on my eyelids, then worked in a deeper, but still bright purple on the creases, and finished off with the darkest plum color in the outer crease. I also pulled some of that dark plum onto the bottom outer corner of my waterline. I did my usual eyeliner but winged it out a little extra. I'm not a big fan of adding a shimmering color to my brow bone to highlight it so instead I added some of my concealer.
P.S. I got the job!!!!
Having a Good Eye Make Up Day
Hate not being able to take better pictures, sorry guys. But I really liked how my eye make-up came out this day so I really wanted to share the look.
I used all Mark/Avon products. But you can use any colors that are alike to the ones I used. I basically swept a gold tone all over the eyelid. I then added a bronzy brown color on the crease in a wiper shield motion, making sure to blend the edges out with a clean brush. You definitely don't want your colors to look harsh. I then patted a dark brown in the outer corners. I actually used a powder in brown meant for the brows but I love using it for my outer corners. I keep it to a minimum so that it doesn't look too dark for work. I finished with a not so thick eyeliner and of course a couple coats of Lash Blast mascara. and that's it.
Monday, July 15, 2013
Avon Nail Art Design Strips Review
Avon Nail Art Design Strips in Mosaic Flowers
I get so excited when I have a post about an Avon product that I tried and ended up LOVING. This is one of those posts. The new Avon Nail Art Strips are AWESOME! I have tried the Sally Hansen ones which I also love, they are a bit pricey for $12.99 at Ulta. But I was impressed when my Avon strips out lasted the Sally Hansen ones. Usually the Sally ones would last me from 4 to 7 days. The Avon strips lasted me for over a week, about 11 days!!!! And I have even tried those expensive Essie ones that look so darn cool yet were the biggest let down ever. They lasted me for less than a day. :(
These cost $10 but are on sale right now for $6.99. Well now that you know how awesome they are and how they give Sally Hansen a run for their money, here is how they are applied.
They come like this.
It's very important that your nails are clean, you can maybe run some nail polish remover over them before you start putting anything on them. Then place the nail strip on your nail starting from the cuticle and smooth it down as best you can like so.
I then pull and stretch the strip like so, as to start defining where it will be filed off.
You're not supposed to put a top coat but I always do. That's optional. I loved this design and received tons of compliments.
Let me know in the comments if there is an Avon or Mark product you would like me to review. Remember I'm honest with my reviews, I sell these products but I don't love them all.
I get so excited when I have a post about an Avon product that I tried and ended up LOVING. This is one of those posts. The new Avon Nail Art Strips are AWESOME! I have tried the Sally Hansen ones which I also love, they are a bit pricey for $12.99 at Ulta. But I was impressed when my Avon strips out lasted the Sally Hansen ones. Usually the Sally ones would last me from 4 to 7 days. The Avon strips lasted me for over a week, about 11 days!!!! And I have even tried those expensive Essie ones that look so darn cool yet were the biggest let down ever. They lasted me for less than a day. :(
These cost $10 but are on sale right now for $6.99. Well now that you know how awesome they are and how they give Sally Hansen a run for their money, here is how they are applied.
They come like this.
It's very important that your nails are clean, you can maybe run some nail polish remover over them before you start putting anything on them. Then place the nail strip on your nail starting from the cuticle and smooth it down as best you can like so.
I then pull and stretch the strip like so, as to start defining where it will be filed off.
Then with the little cute file it comes with you start filing off the excess carefully as not to mess up the rest of the nail strip.
And this should be the result.
You're not supposed to put a top coat but I always do. That's optional. I loved this design and received tons of compliments.
Let me know in the comments if there is an Avon or Mark product you would like me to review. Remember I'm honest with my reviews, I sell these products but I don't love them all.
Use to be one of those people.
I have to confess that I use to be one of those people. I had a friend who were make up since we were very young. I on the other hand wasn't allowed to even wear lip gloss. So what did I do to make myself feel better about not being allowed to even wear lip gloss?
I would walk around saying, "Well I don't need make up. I'm naturally pretty." "She must need make up." "My face isn't going to mess up from all the make up like her." Ect. Ect. Ect.
Then fast forward 10 years and now I LOVE MAKE UP! And since life is a full circle I'm now on the other side of the situation. And it sucks. Especially when it comes from my own family. Really. Same comments, same attitude of I'm better than you for not wearing make up. The funny thing is my sis has asked me to put make up on her before, or to teach her how. But then when she can't master it or is too shy to wear it she goes right back to acting the same way.
I just wish everyone would respect others. If you don't want to wear make up, GREAT, that's fine. That's your choice. If I want to wear make up, then GREAT FOR ME, that's my choice. Yes there's some make up looks I don't like, or some peoples' way of putting it on that I don't think flatters them. But I keep it to myself and think, "If they feel good with it then good for them."
I know that some people might be doing this for the same reason I use too. Because I was jealous of the girl who could wear make up. Of the girls who knew how to put it on. When all I had to do was wait and learn.
Lesson learned.
I would walk around saying, "Well I don't need make up. I'm naturally pretty." "She must need make up." "My face isn't going to mess up from all the make up like her." Ect. Ect. Ect.
Then fast forward 10 years and now I LOVE MAKE UP! And since life is a full circle I'm now on the other side of the situation. And it sucks. Especially when it comes from my own family. Really. Same comments, same attitude of I'm better than you for not wearing make up. The funny thing is my sis has asked me to put make up on her before, or to teach her how. But then when she can't master it or is too shy to wear it she goes right back to acting the same way.
I just wish everyone would respect others. If you don't want to wear make up, GREAT, that's fine. That's your choice. If I want to wear make up, then GREAT FOR ME, that's my choice. Yes there's some make up looks I don't like, or some peoples' way of putting it on that I don't think flatters them. But I keep it to myself and think, "If they feel good with it then good for them."
I know that some people might be doing this for the same reason I use too. Because I was jealous of the girl who could wear make up. Of the girls who knew how to put it on. When all I had to do was wait and learn.
Lesson learned.
Smoky Eye Look
I don't do many smoky eye looks on myself because I feel like I always end up looking like a raccoon. But Sunday I woke up feeling adventurous. :P So looking at my eye shadows I decided to give the smoky look a try.
I decided to try it out with my I-Mark eye shadow in Moss,
I also used the dark green color in the Mark Exotic Hues palette,
and I used the I-mark in Espresso but I think this one is no longer available. But just choose another dark brown color.
I also used my favorite liquid eyeliner from L'Oreal.
So here's the result. I'll try to explain as much as I can of how I achieved this look. In the future I'll try posting more step by step pictures. For now here are pictures that can help you try this look out.
Of course I start with an eye primer. I then patted on the color Moss all over the eyelid but not going pass the crease. Then with a fluffy brush used a windshield wiper motion to add espresso in the creases. Make sure to blend it out really good. The key to not looking like a raccoon is blending, blending, blending so you don't have any harsh lines. I then took the dark green from Exotic Hues, and blended as close as I could to the lash line. I then blended upward into the moss color but without going up to far. You want to have the dark blend into the moss, and the moss into the espresso. I finished off with a think line of black eyeliner. I also brought down the dark color onto my bottom waterline. I added some fake eyelashes and Cover Girl Lash Blast mascara.
Here's a close up. Pardon the messy eyebrows. I'm due a trip to the eyebrow threading place.
I was really please with how this look came out. I think I'll be doing it again, finally a smoky look that doesn't look like a raccoon face. I felt like my eyes were so dramatic that bronzer and highlighter was all I needed and a nice lip gloss over a peachy lip color.
Don't forget to visit my Avon/Mark online store at www.youravon.com/mmendez34
Labels:
espresso,
exotic hues,
I-mark,
Mark,
moss,
smoky eyes
Subscribe to:
Posts (Atom)